
Designing a built-in wardrobe for a tropical home
Published by Chaingkiat & Furniture — Nearly 30 years of hands-on carpentry, with our own workshop and crew on Koh Samui. · · 5 min read
In a tropical bedroom a wardrobe is not just joinery — it's a small climate system. Get the airflow wrong and clothes come out smelling of damp within weeks; get it right and a wardrobe measured and fitted for the climate stays dry through the wet season with no gadgets and no daily ritual.
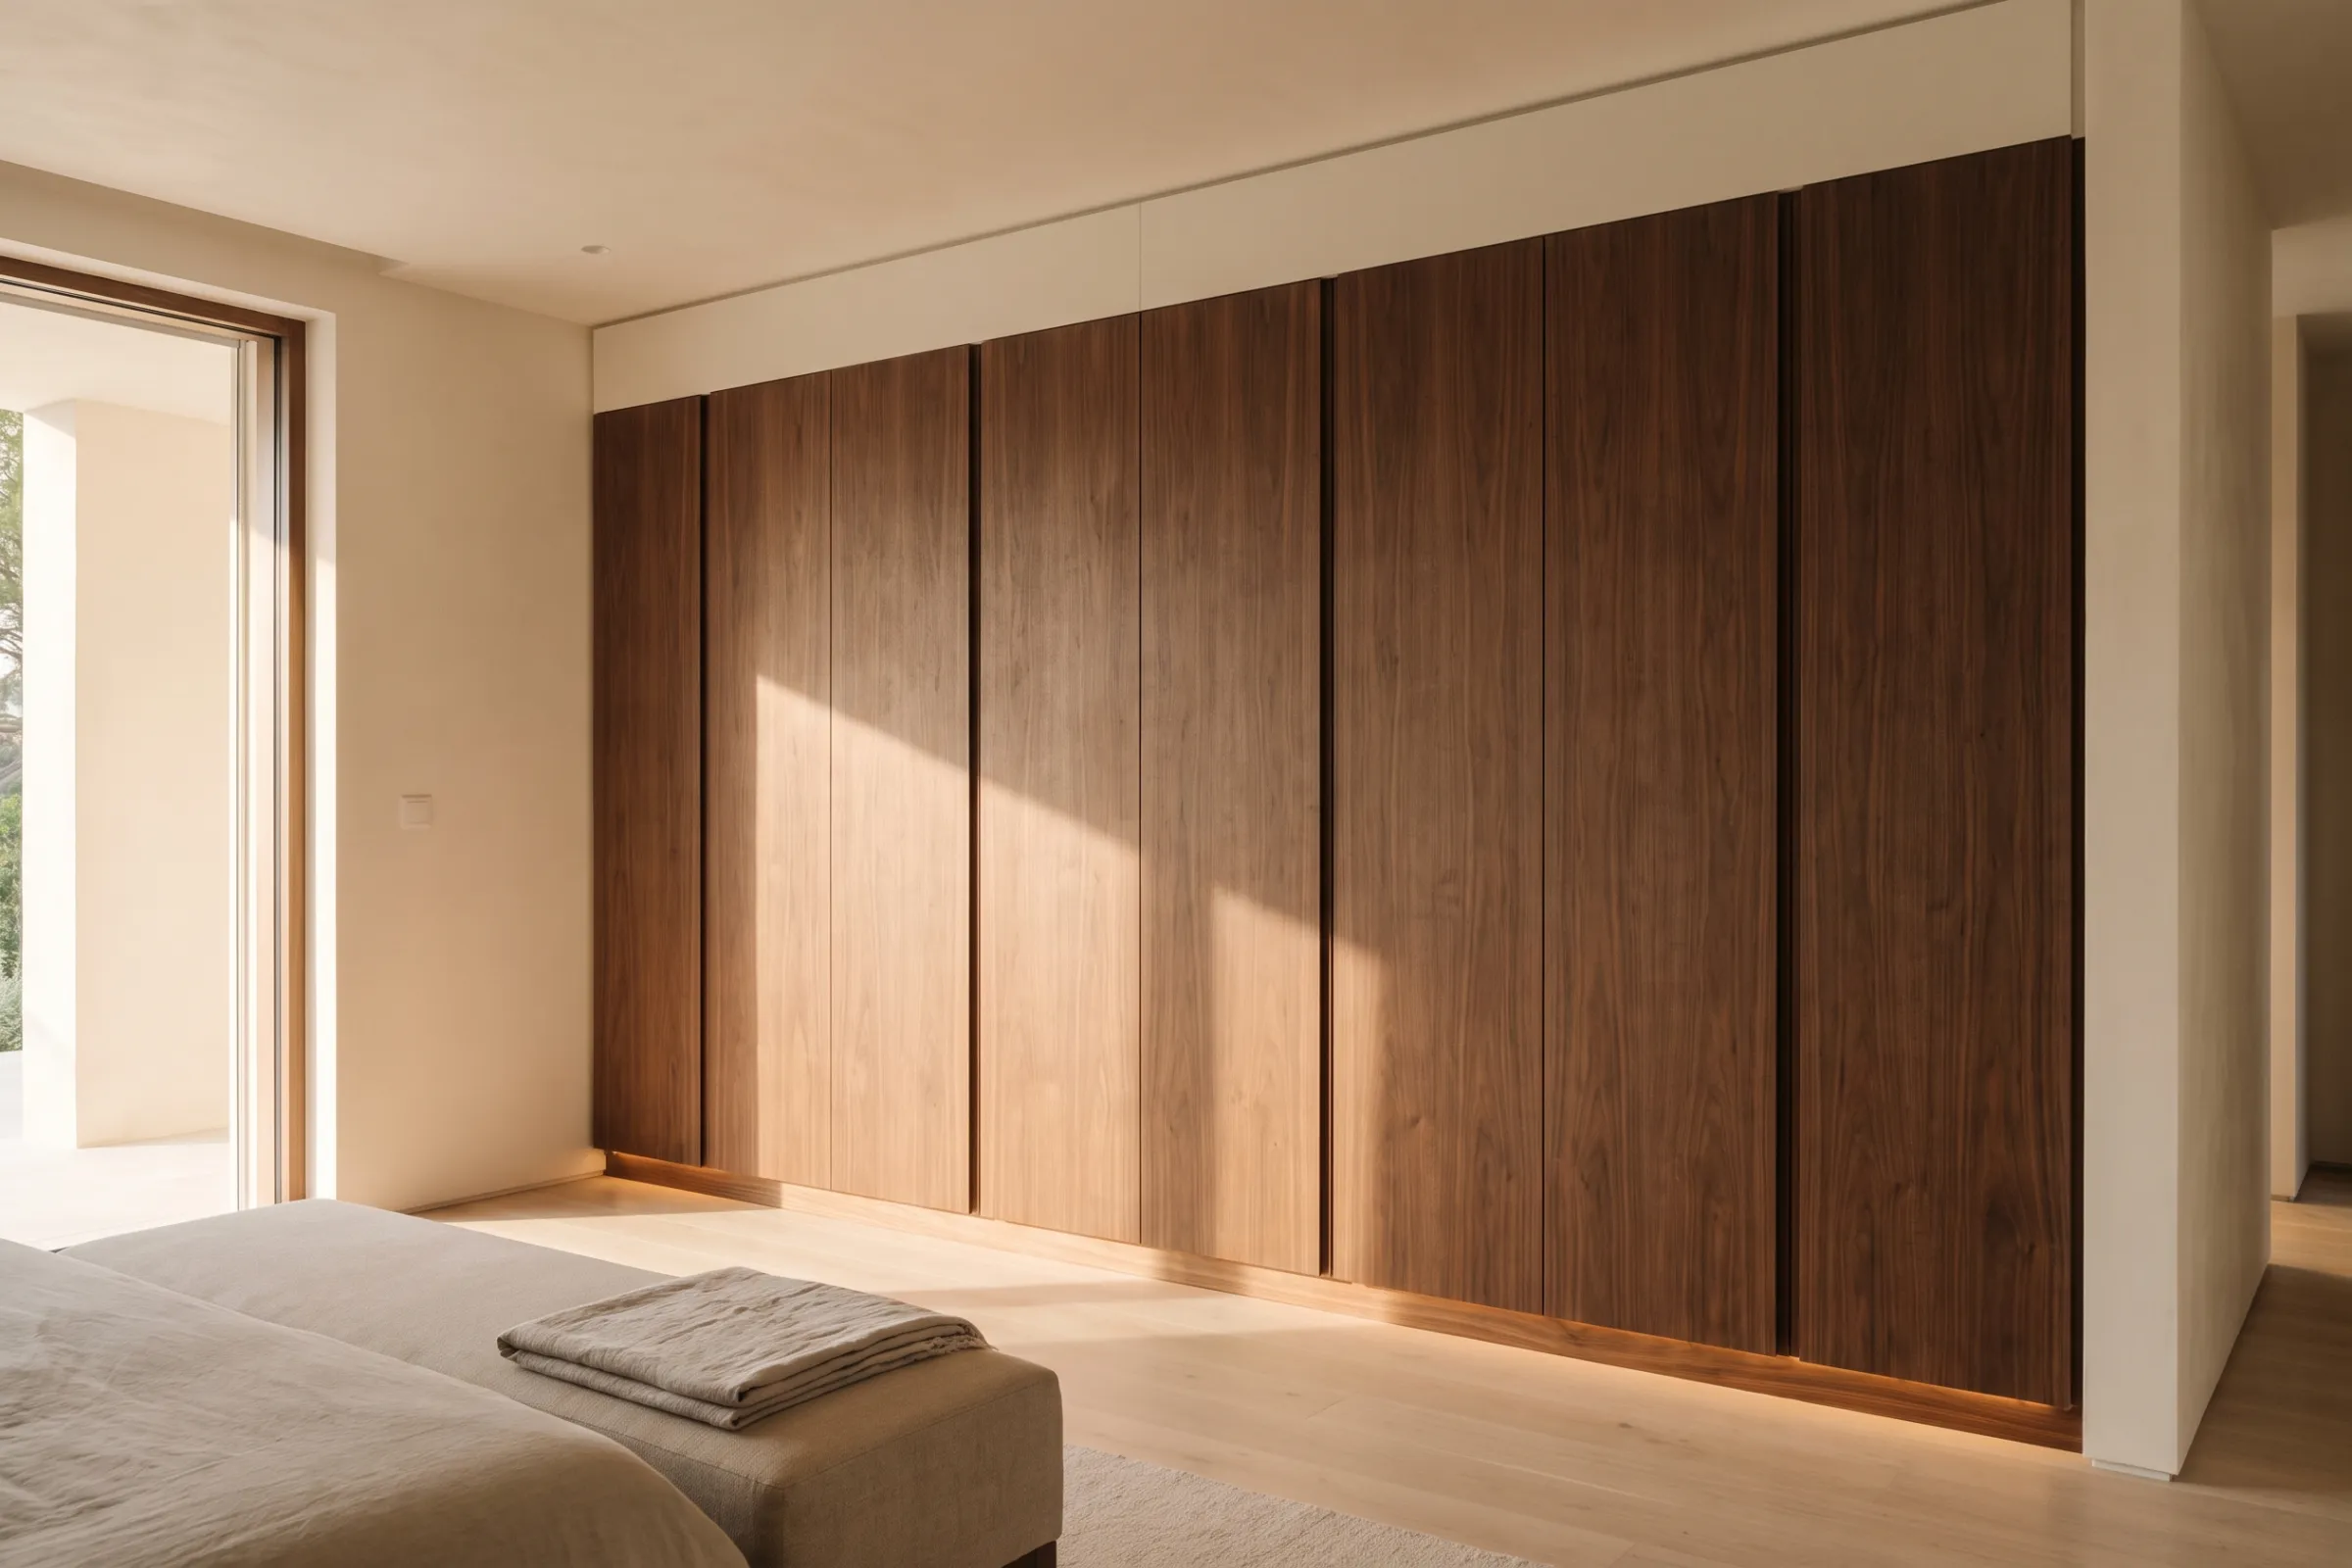
This guide works through the planning decisions in order: layout, height, the humidity mechanics that make wardrobes on Koh Samui different from European ones, then compartments, lighting, doors and measurement. The same thinking carries over to any fitted piece — a wardrobe is simply made-to-measure joinery built for the hardest room in the house to keep dry.
Start with an inventory, not a catalogue
List what the wardrobe must hold before anyone draws it: how much hangs long (dresses, robes), how much hangs short (shirts), what folds, what needs drawers, then shoes, luggage and spare bedding. In a rental villa, add guest reality — people live out of suitcases, so a luggage shelf and generous open shelving beat rows of small drawers. The split between hanging, shelves and drawers is the design; the doors are just the wrapper.
Then check the room can take the format you want. A reach-in wardrobe needs clear space for its doors and drawers to open fully. A walk-in needs around 90cm of clear passage with storage on one side, and 120–150cm with storage on both. If the numbers don't work, a well-planned reach-in beats a cramped walk-in every time.
Take the storage to the ceiling
Floor-to-ceiling is the point of building in. The zone above head height is right for things you touch a few times a year — luggage, spare pillows, decorations — and closing it behind doors keeps dust and geckos off it. Just as important: a carcass that meets the ceiling cleanly leaves no wardrobe-top shelf of forgotten boxes, and no narrow gap that's impossible to clean but excellent at holding still, damp air.
Why wardrobes grow mould here
The mechanism is worth understanding, because it explains every design rule that follows. Coastal air in Thailand sits at roughly 70–90% relative humidity for much of the year, and mould becomes likely once the air around a surface stays above about 60%. At 80% humidity and 30°C, the dew point is around 26°C — meaning any surface cooled below 26°C collects liquid water out of the air.
Now put a closed box against a wall in an air-conditioned bedroom. The aircon cools the wall and the wardrobe's back panel below the dew point; the closed doors trap a pocket of humid air; the clothes are packed tight, so nothing moves. That's not bad luck — it's a condensation machine. External walls are the worst case, which is why mould so often appears behind a wardrobe rather than inside it: the wall face stays cool and damp with no air movement to dry it. Everything in the next section exists to break this cycle.
Ventilation is built in, not bought later
The behaviour tips that dominate this topic — dehumidifiers, silica gel, leaving the doors open — are all remediation. A wardrobe built correctly rarely needs them. Three design decisions do the work.
The external-wall gap
Never build a carcass hard against an external wall. Leave a 20–30mm air gap behind the unit so air can move across the wall face and moisture can't accumulate — vented at the plinth and top so the cavity actually breathes rather than becoming a sealed void. On internal walls the risk is lower, but the gap costs almost nothing and disappears once the unit is scribed and trimmed.
Vent paths and louvres
Give the interior a way to exchange air: vents low and high so convection does the work, louvred or slatted door sections, or a deliberate gap along the top of the door panels. A correctly vented wardrobe generally needs no powered help. Where a room stays shut for long stretches — a guest villa empty between stays — a small, always-on fan is the honest retrofit, moving just enough air to keep the enclosure from going still.
Habits that finish the job
Design does most of the work; use does the rest. Only dry, clean clothes go in — one damp beach towel raises the humidity of the whole cabinet. Pack loosely enough for air to move between garments; dense packing is a recognised cause of wardrobe mould in this climate. Desiccant packs help, but they are supplements, not solutions. And if the villa stands empty, don't ice it: around 25–26°C unoccupied keeps surfaces above the dew point, where 20–21°C invites condensation on every cooled face.
Built-in wardrobes & cabinets
Built-in wardrobes, closets and storage cabinets that use every centimetre — measured, built, and installed.
Explore serviceInternal compartments that earn their space
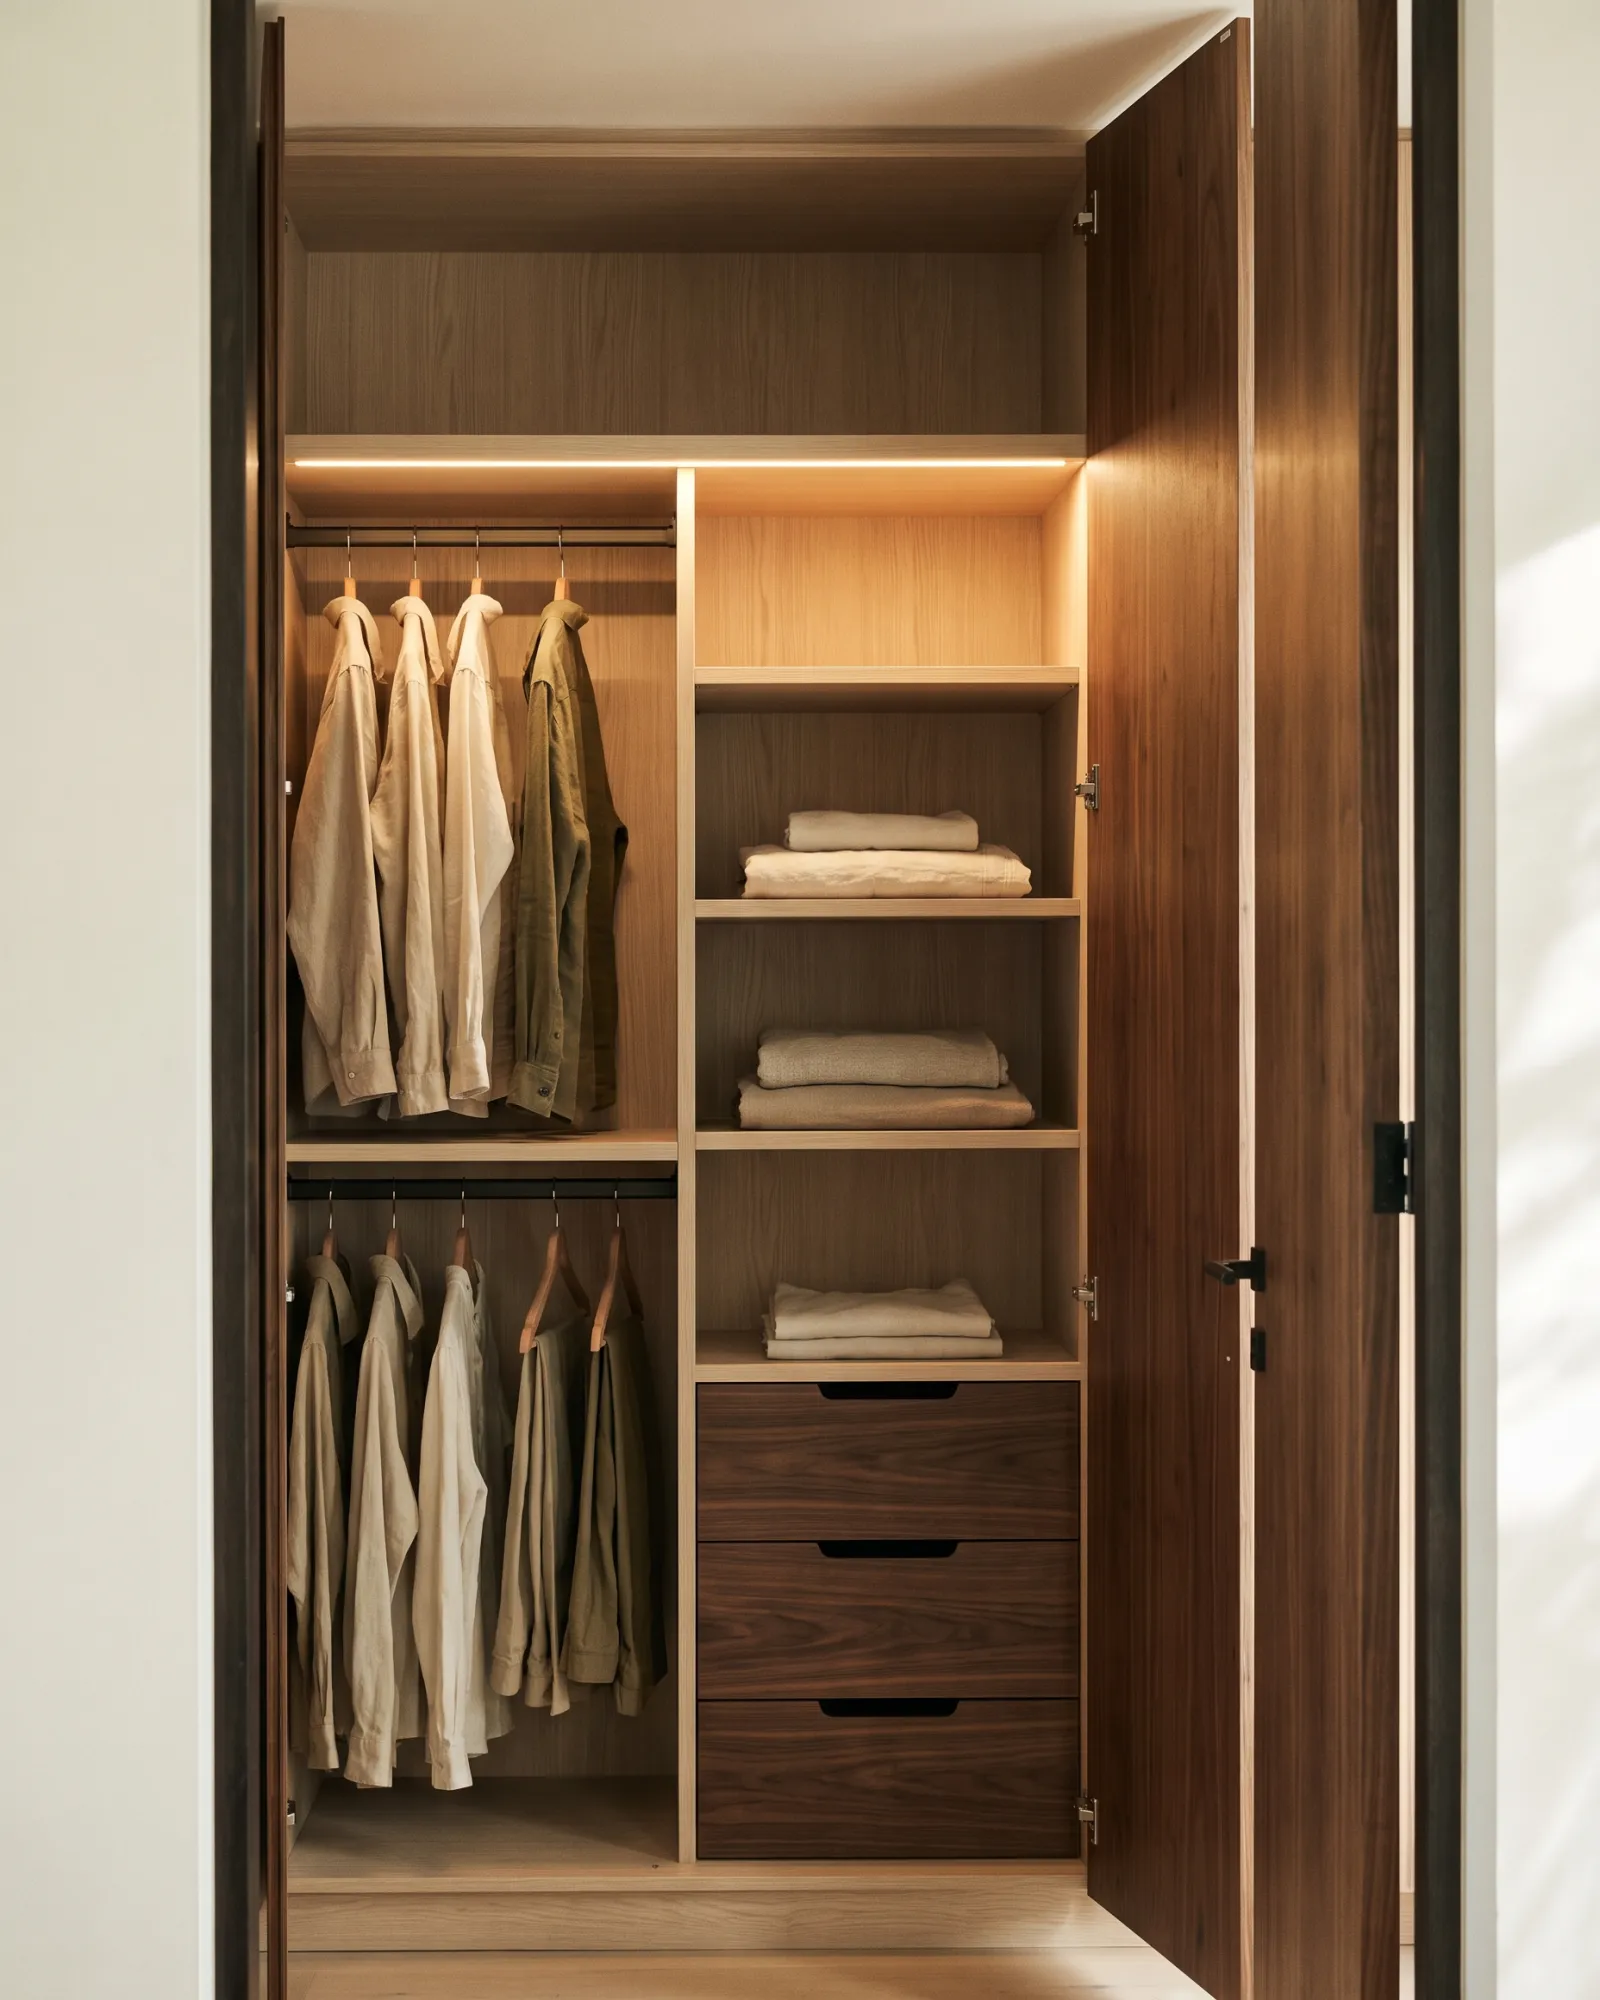
Dimensions that work: about 1,000mm of clear drop for shirts and folded-over trousers, 1,500–1,700mm or more for dresses and long coats, and a double-hang section — two rails of roughly 1,000mm each — doubles shirt capacity in the same footprint. Shelves earn their keep at 300–450mm deep; deeper just buries things. A drawer bank around 800mm high gives three honest drawers below the hanging. An overall carcass depth of 600–650mm lets standard hangers swing freely.
In this climate, resist the urge to fill every cube. An interior left slightly under-packed by design keeps air moving between garments — that's part of the mould defence, not wasted space.
Lighting: convenience, not mould control
An internal light changes how a deep wardrobe gets used, and LED strip is the right tool — cool-running, slim, and safe close to fabric in a way halogen never was. Door-triggered switching means it only burns while the doors are open. Be sceptical of claims that a closet light meaningfully prevents mould; treat lighting as convenience and let ventilation do the humidity work. The supply position needs agreeing with your electrician before the carcass is built — the maker then builds around the agreed point.
Doors: hinged, sliding or louvred
Hinged doors give full access to the interior at once, accept vents and louvred panels easily, and stay serviceable for decades on decent hinges. Sliding doors save floor space in tight bedrooms, but one half of the wardrobe is always covered, and they live or die by track quality — near the coast, specify 316 stainless or well-coated running gear, because salt air reaches everything. Fully louvred doors are the tropical classic for a reason: the whole door is a vent. The usual compromise — solid doors with vented or louvred sections top and bottom — keeps a cleaner face while still letting the box breathe.
Measure on site, not from the plan
Floor plans lie. Rendered walls lean, floors run out of level across a room, skirtings and aircon trunking eat depth, and the ceiling height on the drawing is rarely the height above the finished floor tile. Fitted work is measured from the real room at several heights, with diagonals checked, and scribed to the surfaces it meets. We measure and inspect on site before anything is drawn — and whoever builds your wardrobe should do the same, because the site survey is what turns "built-in" from a furniture label into an actual fit.
Related guides
- Built-in wardrobes & cabinets
Planning built-in storage for humid island homes
How built-in cabinets turn awkward corners, niches and hallways into storage: planning depth, access, doors, lighting, and why millimetres decide the result.Read the guide - Custom furniture & carpentry
Furnishing a rental villa on Koh Samui: what holds up
Choosing furniture that survives weekly guest turnover in a Koh Samui rental villa: durable materials, what to build in, and planning around handover dates.Read the guide - Kitchen assembly & installation
Planning a kitchen installation on Koh Samui, step by step
Planning a kitchen installation on Koh Samui: sequencing units, worktops and appliances, levelling on site-built walls, and choosing boards for coastal humidity.Read the guide
Related services
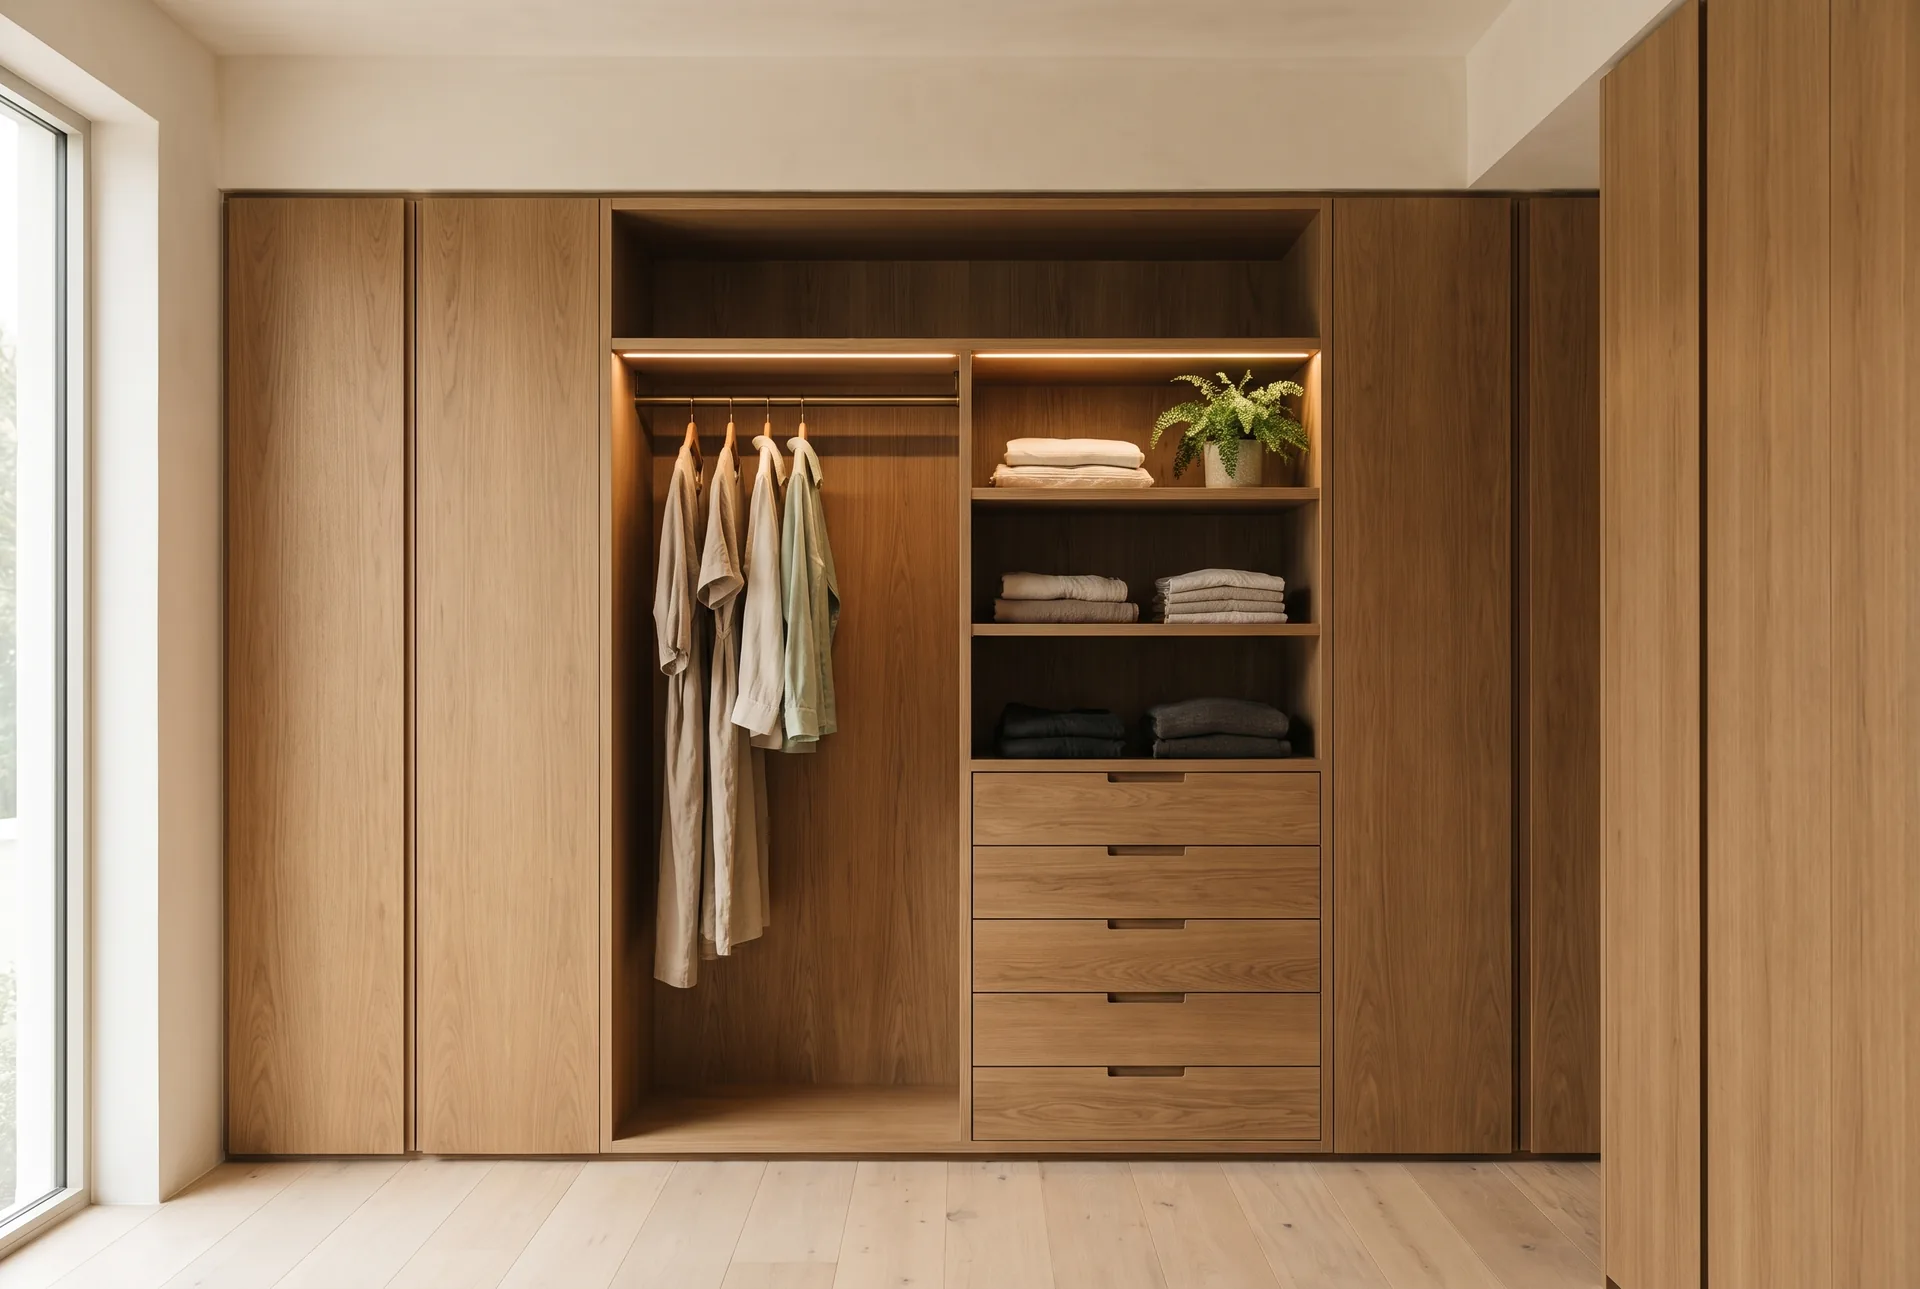
Built-in wardrobes & cabinets
Built-in wardrobes, closets and storage cabinets that use every centimetre — measured, built, and installed.
Explore service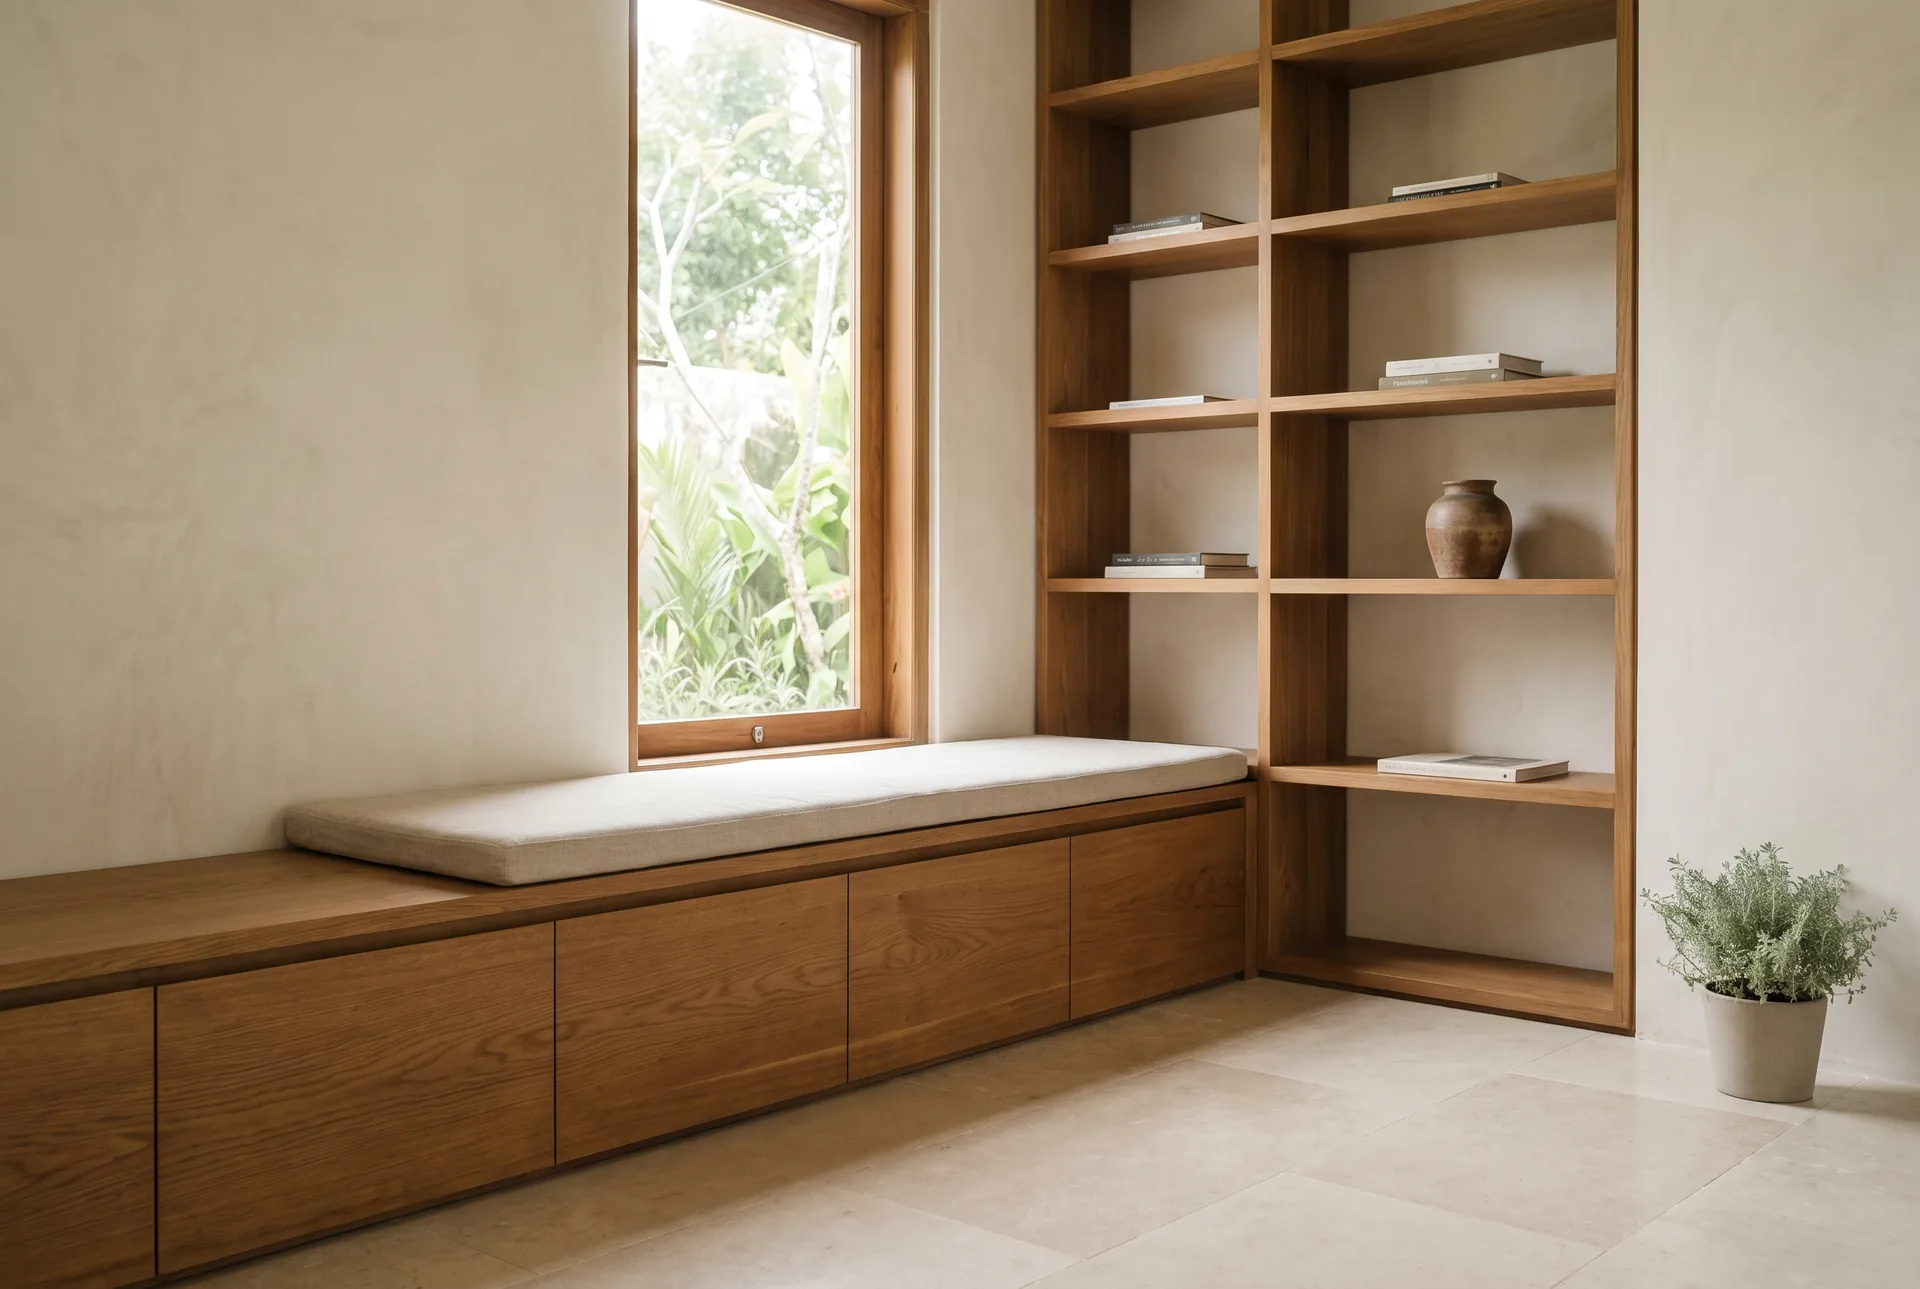
Custom furniture & carpentry
Made-to-measure furniture and woodwork designed and built for your space, from single pieces to full fit-outs.
Explore service
Tell us what you need built or installed.
Send a few photos and measurements — we'll get back to you with next steps.